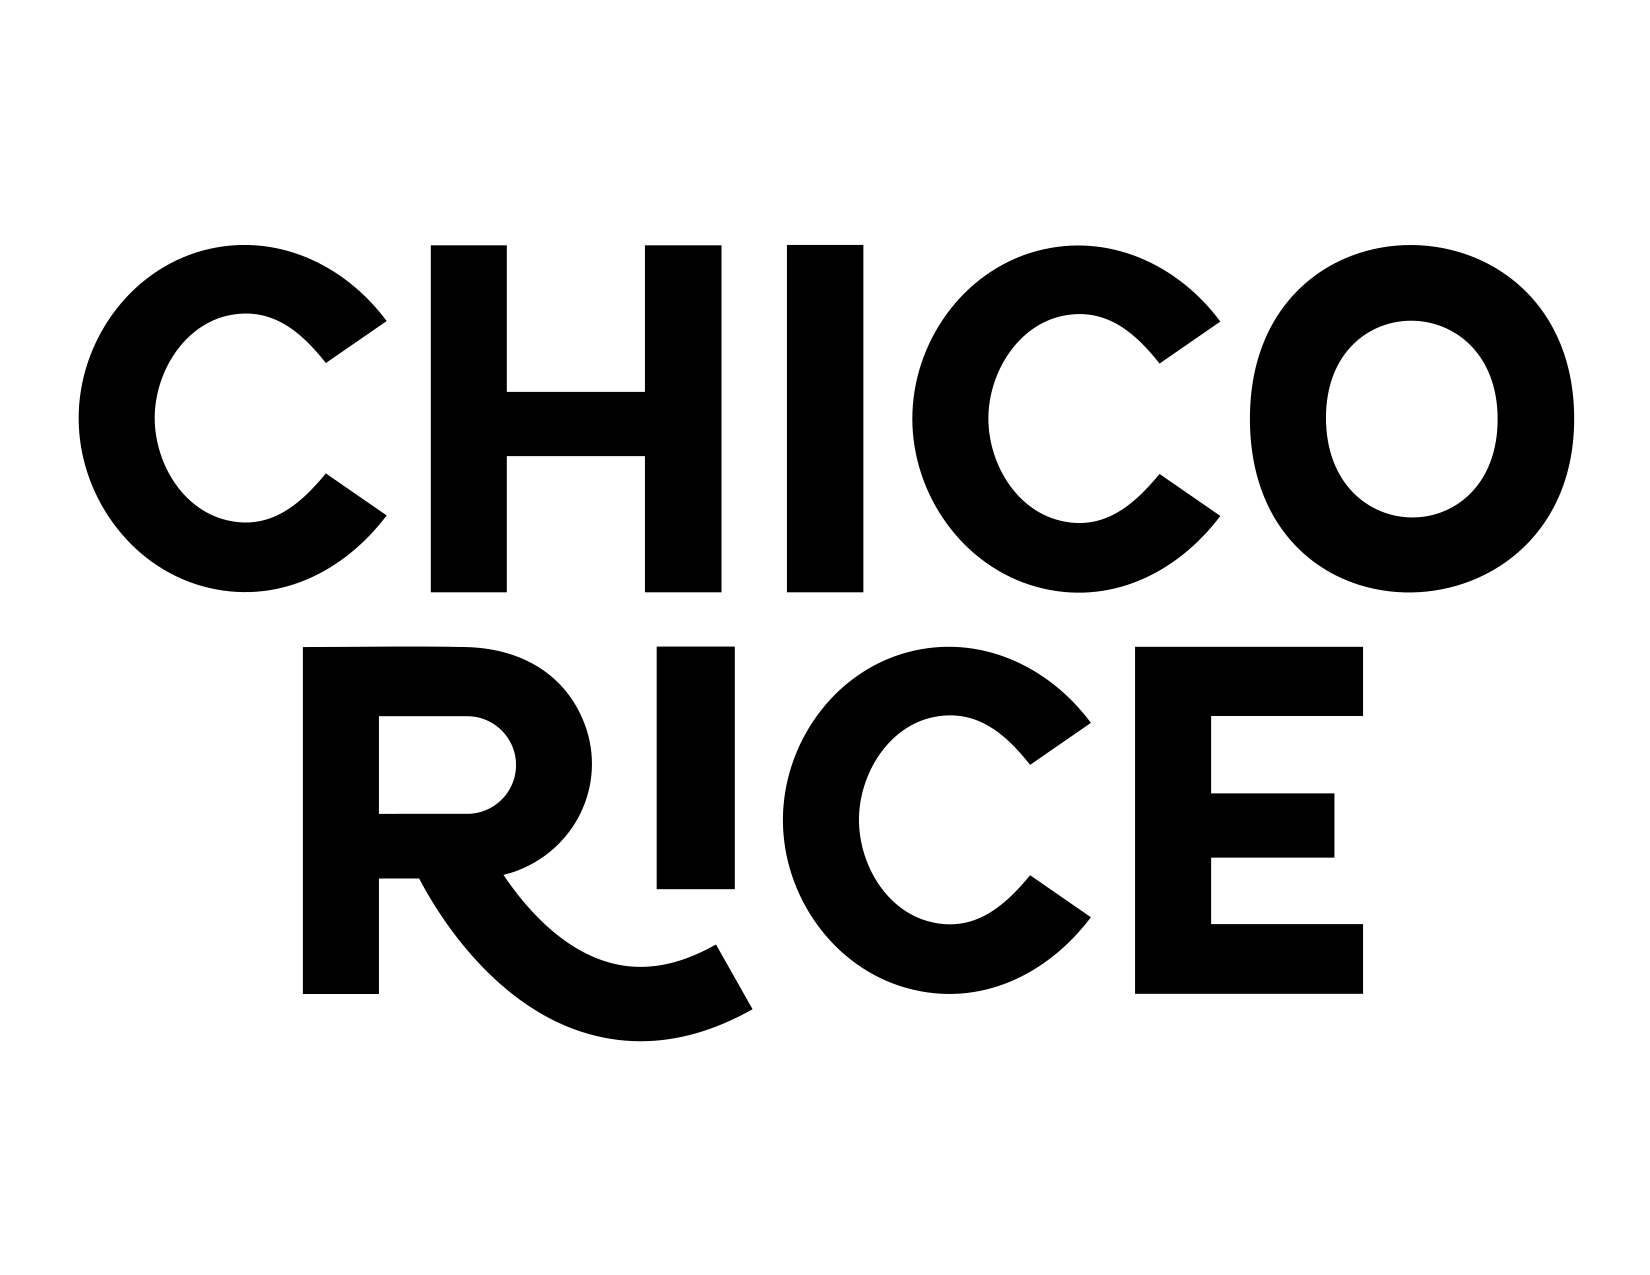
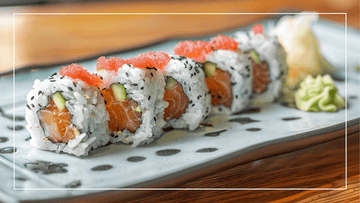
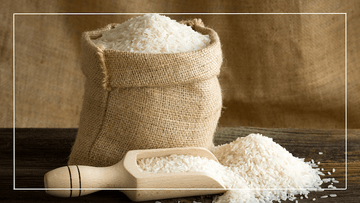
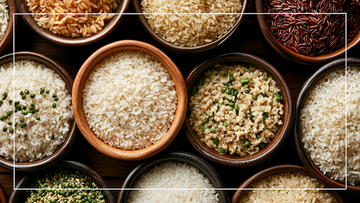
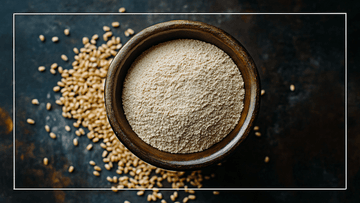
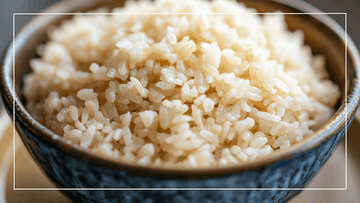
Japonica rice, with its origins rooted in Japan and now cultivated in various regions including the United States, holds a special place in the world of sushi.
In this guide, we dive into the world of Japonica rice, dispel common misconceptions, and uncover why it's the preferred choice for crafting sushi rolls.
Also learn the importance of preparing and seasoning Japonica rice to perfection, ensuring every sushi roll you make is a delightful masterpiece.
➡️ Shop Chico Rice Milled Japonica Rice! ⬅️
Understanding Japonica Rice for Sushi
Japonica rice is a variety of short to medium grain rice that was cultivated primarily in Japan and is grown in the United States.
The rice’s characteristics make it ideal for sushi preparation. The grains are plump, round, and stick together when cooked, ensuring that the sushi holds its shape and has the desired texture.
A common misconception is that Japanese sushi rice and Japonica rice are two different types of rice.
We touched on this topic in our, “Exploring Japonica Rice” guide, while all sushi rice is Japonica, not all Japonica rice is ideal for making sushi.
Sushi rice is traditionally made with a short-grain Japonica white rice. However, you can make sushi with a medium-grain Japonica rice with the proper preparation and seasoning.
Why Japonica Rice for Sushi?
The choice of rice is crucial in sushi-making as it forms the foundation of every sushi roll.
Japonica rice's sticky nature helps the sushi ingredients adhere together, allowing for easy rolling and slicing.
The reason Japonica rice texture is so sticky is because it has a higher content of amylopectin, which is a component of starch.
Japonica rice also has a naturally subtle sweetness to its flavor. The sweetness complements the savory flavors of the sushi fillings, enhancing the overall taste experience.
Importance of Preparing Japonica Rice for Sushi
Preparation is crucial for any cook, but it's especially vital when making sushi rice. Proper preparation ensures that the rice maintains a consistent and delightful texture and flavor.
One way to make sure that your Japonica sushi rice is not too sticky or mushy is to rinse your rice. Rinsing your rice takes off the extra starch on the outside of the grain.
Another preparation technique that you can do is soaking your rice. This is a common practice for most sushi preparation, however it is not necessary.
Soaking rice offers several benefits, notably ensuring even cooking and a desirable texture. For optimal results, soak your rice for a duration ranging from 30 to 45 minutes.
When soaking a white Japonica rice, a reliable indicator of sufficient soaking is when the white color of the grains becomes visible, with no grey spots remaining.
Importance of Seasoning Japonica Rice for Sushi

While rice plays a pivotal role in sushi, serving as its fundamental element it's the seasoning that truly transforms rice into sushi rice.
The term 'sushi' itself translates to 'sour rice,' going back to sushi's origins when it consisted of fermented fish and salt-preserved rice.
This sour note is achieved through the addition of vinegar seasoning post-cooking. The resulting sweet and tangy flavor profile of the rice perfectly complements the savory proteins typically found in sushi rolls.
Steps on How to Prepare Japonica Rice for Sushi
Now that you know more about Japonica rice for sushi and its characteristics, let's dive into this step-by-step process for preparing and cooking sushi rice.
For this process we will be using Chico Rice Blonde Milled California Japonica Rice. If using a different rice, please read the cooking instructions on the bag and cook accordingly.
-
Rinsing the Rice: Start by putting one cup of Japonica rice in a strainer and rinse under cold water until the water runs clear.
-
Soaking the Rice (Optinal): If you chose to, after rinsing the rice transfer the rice to a bowl and cover it with cold water.
Let it soak for about 30-45 minutes to allow the grains to absorb moisture evenly.
-
Cooking the Rice: In a pot bring 1.5 cups of water to a simmer and then transfer the rice into the pot.
Reduce the heat to low, cover, and simmer for 20 minutes, or until the rice is tender and all the water is absorbed.
Remove from heat and let sit, covered, for another 5 minutes.
Click here for steps to cook your rice in a Rice Cooker!
Click here to steps to cook your rice in a Instant Pot
Sushi Rice Seasoning for 1 cup of rice
- 2.5 Tablespoons Rice Vinegar
- 1 Tablespoon of Sugar
- ½ Teaspoon of Salt
Seasoning the Rice

- Transfer the cooked rice into another container and let cool for 10-15 minutes.
- In a separate saucepan, combine rice vinegar, sugar, and salt, then gently heat the mixture on the stove, cook until the sugar and salt dissolve.
- Drizzle the seasoned vinegar over the cooked rice and gently fold it with a spatula. Be careful not to mash the rice; the goal is to evenly distribute the seasoning while maintaining the rice's texture.
- Now that you have finished your Japonica sushi rice, create your sushi rolls with your favorite fillings and savory protein!
Want to try sushi with our Chico Rice Brown Milled California Japonica rice?
Here, you'll learn everything you need to know to make delicious homemade sushi with a healthy twist, using brown rice instead of white! Check out our recipe here!
The type of rice you choose plays a crucial role in making sushi. Japonica sushi rice, with its sticky texture, subtle sweetness, and ability to hold together, is the perfect rice to make sushi.
By following the preparation and seasoning steps, you can enjoy delicious homemade sushi right in your own kitchen!
So why wait? Gather your ingredients, roll up your sleeves, start making delicious sushi rolls with your Japonica rice!
